 Brixel Proyect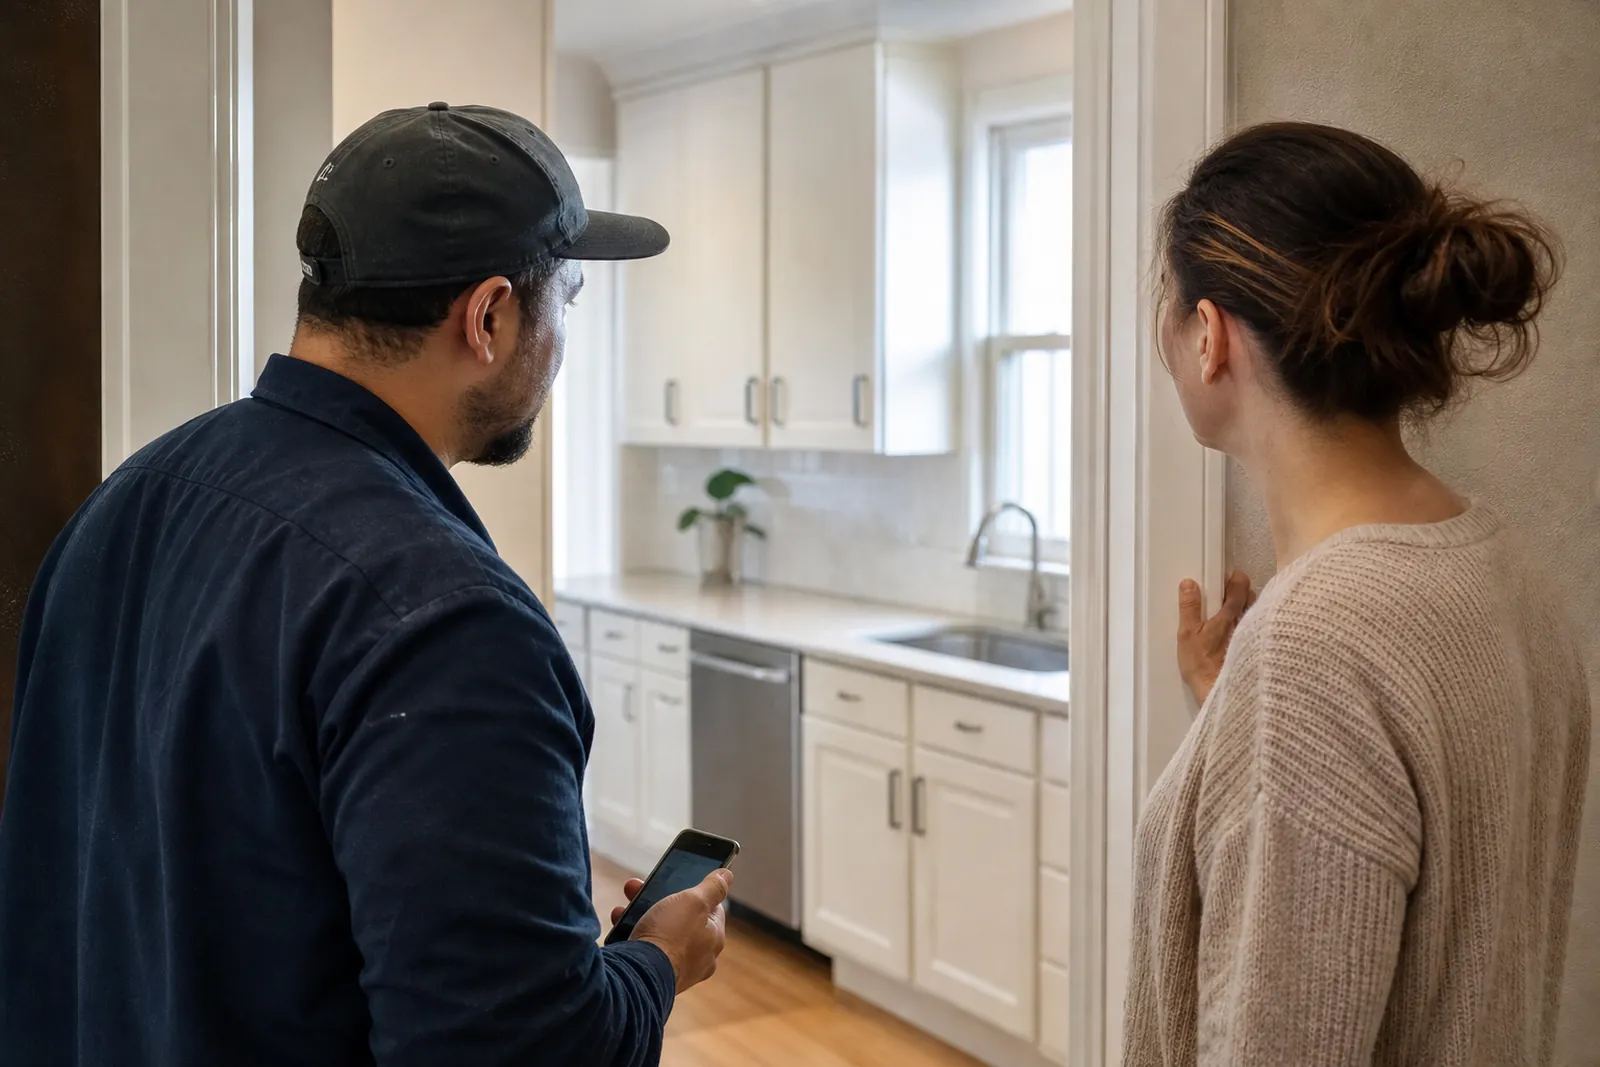
Start with the job, not the camera
The best before-and-after photo is not fancy. It is clear. If the scene is messy or the light keeps changing, the photo will not help much, no matter how good the work was.
Before you begin, look at the space and find the angle that shows the problem and the fix. For a bathroom, that may mean standing in the doorway. For a driveway, it may mean stepping back far enough to show the whole area. For a haircut, it may mean using the same chair and the same wall behind the client each time.
Take the before shot before tools, drop cloths, or cleanup cover the area. Take the after shot after the work is done and the space is settled. If the job has more than one clear stage, save a few photos along the way. Those can help later when you need a fuller story.
- Pick one angle before you start and keep it in mind.
- Take the before photo early, before the job gets covered up.
- If the space looks too cluttered, tidy only what is fair to tidy for the real job.
Keep the angle and light the same
This is where many job photos fall apart. The before shot is taken from one corner, then the after shot is taken from another. The light changes. The framing changes. People cannot compare the two well, so the work looks weaker than it is.
Try to stand in the same place for both photos. Use a doorway, a tile line, a fence post, or another fixed point as a guide. If you can, hold the phone at the same height each time. A few inches can change how the room or project feels.
Light matters too. If the before photo is taken in bright window light and the after photo is taken at night, the result may look uneven. When possible, take both photos under similar light. If you cannot, at least avoid harsh shadows in one shot and flat darkness in the other.
Small edits are fine if they help the photo look honest and clear. Crop out extra clutter if it does not affect the story. Do not change colors, erase parts of the job, or make the after photo look like something it is not.
- Use the same doorway, corner, or marker in both shots.
- Keep the phone at about the same height.
- Avoid editing that changes the real look of the work.
Ask for permission before you post anything
If the photo shows a home, a face, a license plate, a child, a pet, a personal item, or anything that could point to a client, ask before you use it. Do not assume a happy customer is fine with public photos just because they liked the work.
Keep the ask simple. You do not need a long speech. Something like, “Do you mind if we use these photos on our website to show the work?” is clear and polite. If they say yes, great. If they say no, respect that and move on.
It helps to ask while the job is fresh, not weeks later when the memory has faded. If you plan to use the photos often, make it part of your normal closeout talk. That keeps it from feeling awkward.
If a photo could identify the client’s home or business and you are not sure, blur the faces and remove any private details before posting. When in doubt, use a different shot.
- Ask before posting, not after.
- Keep the request short and plain.
- Remove private details if a photo could identify the client.
Choose photos that explain the kind of work you do
Not every job photo belongs on your site. Pick examples that make the service easy to understand. A clean repair, a full restoration, a detailed finish, or a clear transformation will usually speak better than a random job shot.
Use examples that match the work you want more of. If you want kitchen remodel calls, show kitchens. If you want lock changes, show doors and hardware. If you want salon clients, show haircuts, color work, and finished styles from a few clean angles.
Try to show one clear problem and one clear fix. People should be able to glance at the pair and understand what changed. If the photo needs a long explanation to make sense, it may not be the right one.
When you have a strong project, group a few photos together so the viewer can follow the story. Start with the problem, show a step or two in the middle if that helps, then end with the finished result.
- Choose jobs that match the services you want more often.
- Show one clear problem and one clear fix.
- Use a few related photos when one image is not enough.
Put the photos where people will actually see them
A before-and-after gallery on its own is fine, but it should not be the only place the photos live. Put a strong pair near the top of the matching service page so visitors see real work fast.
Use them inside the service section, close to the text that explains what you do. That way, the photo backs up the words instead of floating off by itself. If you have separate pages for different services, match the photo to the page topic.
Add a few to your homepage if you have enough good examples, but do not crowd the page. One or two strong photos can do more than a long row of mixed jobs.
You can also use them in a project page or a photo gallery for people who want more detail. That helps someone who is still deciding and wants to see more than one example. If you post on Instagram, TikTok, or Facebook, point people back to the same photo set on your site so the message stays together.
- Place the best photo pair near the top of the service page.
- Match each photo to the service it proves.
- Keep the homepage light and use only your strongest examples there.
Give each photo a short, useful caption
A good caption helps the photo do its job. You do not need a long story. A short line that says what changed and what service was done is enough.
Use plain words. Say what the problem was and what you fixed. For example: “Old entry lock replaced with new hardware” or “Drywall patched and painted after leak repair.” If the job has a detail that matters, mention it. Keep it real and simple.
Captions also help people who scan fast. They may not read the whole page, but they will catch a clear caption under a strong image. That can make the work easier to understand at a glance.
If you use WordPress, keep your photo names and captions organized as you upload them. That makes it easier to reuse the same job photos later on service pages, project pages, or a blog post without hunting through old files.
- Write captions that say what changed.
- Keep the words plain and direct.
- Organize the photos as you upload them.
Questions owners ask
What if I forget to take a before photo?
If you miss the true before shot, do not force a fake one. You can still take a clean after photo and use it with a short explanation, but be honest about what people are seeing. It is better to show one real image than two that do not match.
Do I need perfect photos for my website?
No. Clear and honest is better than polished and confusing. Use good light, keep the framing steady, and show the work in a way people can understand. A real job photo that shows the change well can be more helpful than a heavily styled image.
What should I do if a client says no to photos?
Respect the answer and do not push it. Move on and keep the job notes for your own records. You can still use other projects later, so one no does not leave you without material.